Is it Possible to Wipe Files from My Digital Camera?
Digital cameras have revolutionized the world of photography. Unlike the traditional cameras, the digital cameras have an inbuilt computer that records images electronically. Being one of the most remarkable inventions, modern digital cameras include sophisticated features that are very useful. Powerful Optical Zoom, megapixel image resolution, comprehensive image processing, high resolution, built-in playback, memory cards and many others.
Digital camera memory is an essential part of digital photography equipment. Generally, Digital cameras internal memory does not support storing huge amount of pictures/videos, thus the digital camera memory cards are utilized. These memory cards store all the pictures and videos taken with the digital camera. If your card is full of capacity and when you need more space you can delete erase/delete pictures from it. On the other hand if your digital camera performance becomes sluggish, you can format the memory card. However, a memory card should be formatted several times a year for good performance.
Erasing/deleting images or just formatting the memory card, does not actually delete the data on it. If you are planning to get rid of your digital camera or memory card, you will need to permanently delete the images on it. In this situation, to shred files permanently you need a good drive shredding software. File Shredder can help you shred files from a digital camera memory card beyond recovery. File Shredder will completely erase files from your memory card, without the possibility of recovery by any practical software or hardware methods. It also facilitates user to shred folders from hard drive in couple of mouse clicks. Select the data you wish to shred, select your shred standard and the data is gone forever. The data once erased with File Shredder cannot be recovered back using any data recovery software. Apart from this, it also assist you on how to shred files permanently on Windows 8 within just steps.
Guide on how to shred files from digital camera:
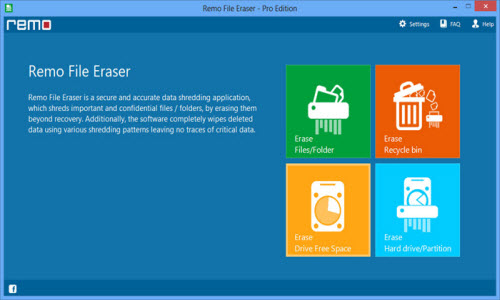
Step 1: Download and install my file shredder utility on your Windows hard drive. Launch the File Shredder either by selecting the program from the Start Menu, or by double clicking on the desktop shortcut. Once the File Shredder software is launched, it starts loading the drives on the left tree pane. Select Erase Files / Folders option to wipe digital camera files as in figure.
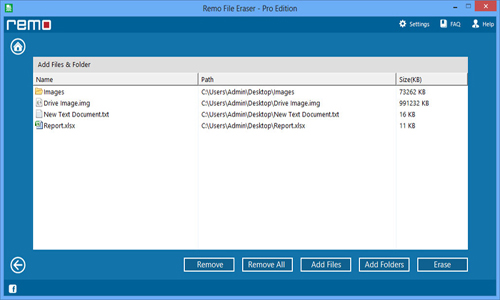
Step 2:Select the memory card that contains the files to be shredded. After selecting the files to be shredded, double click on them to add them into the ’shredding zone’ or drag and drop them into the shredding zone. The application adds the selected files into shredding zone as in figure.
Step 3: File Shredder utility provides nine shredding methods and they are classified into different levels for erasing the data which are based on the security pattern. Choose the shredding pattern and click on Proceed as in below figure.

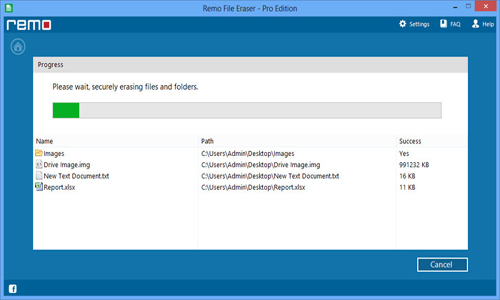
Step 4: Once erasing method is selected, file shredding process will be start based on the selected wiping method as in below figure.
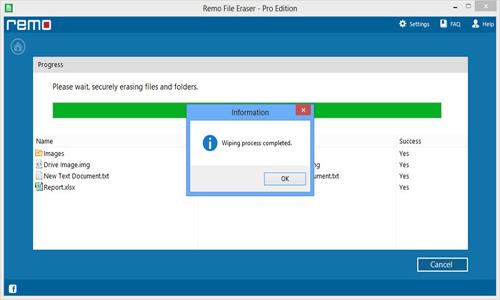
Step 5: After successful completion of digital camera file shredding process, a message would pop confirming the completion as in below figure.